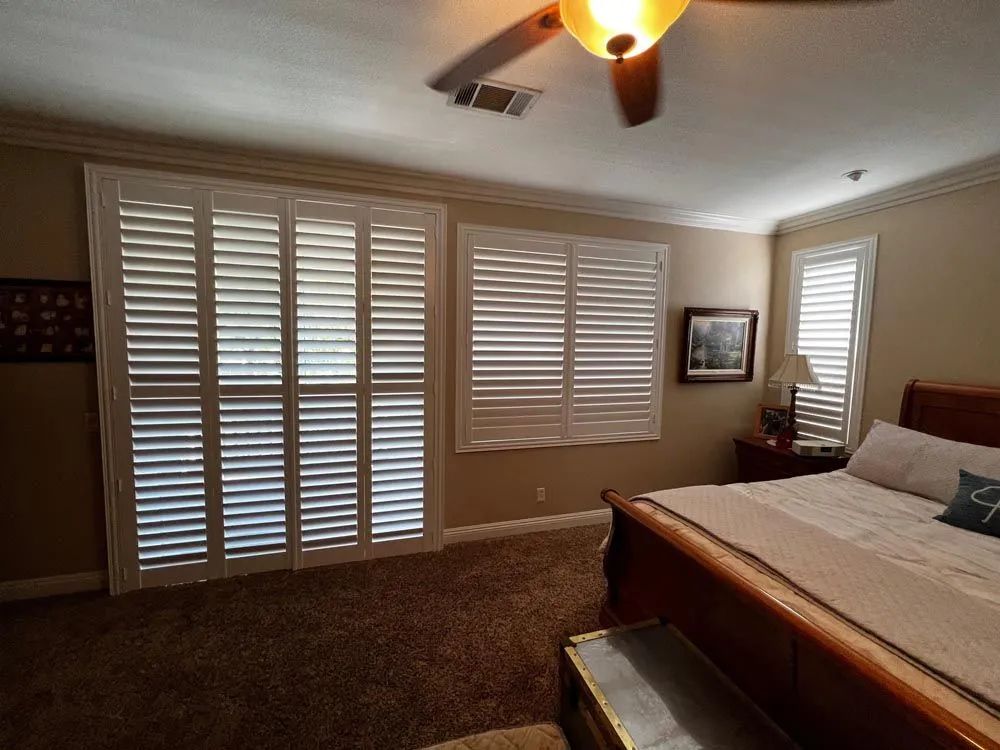
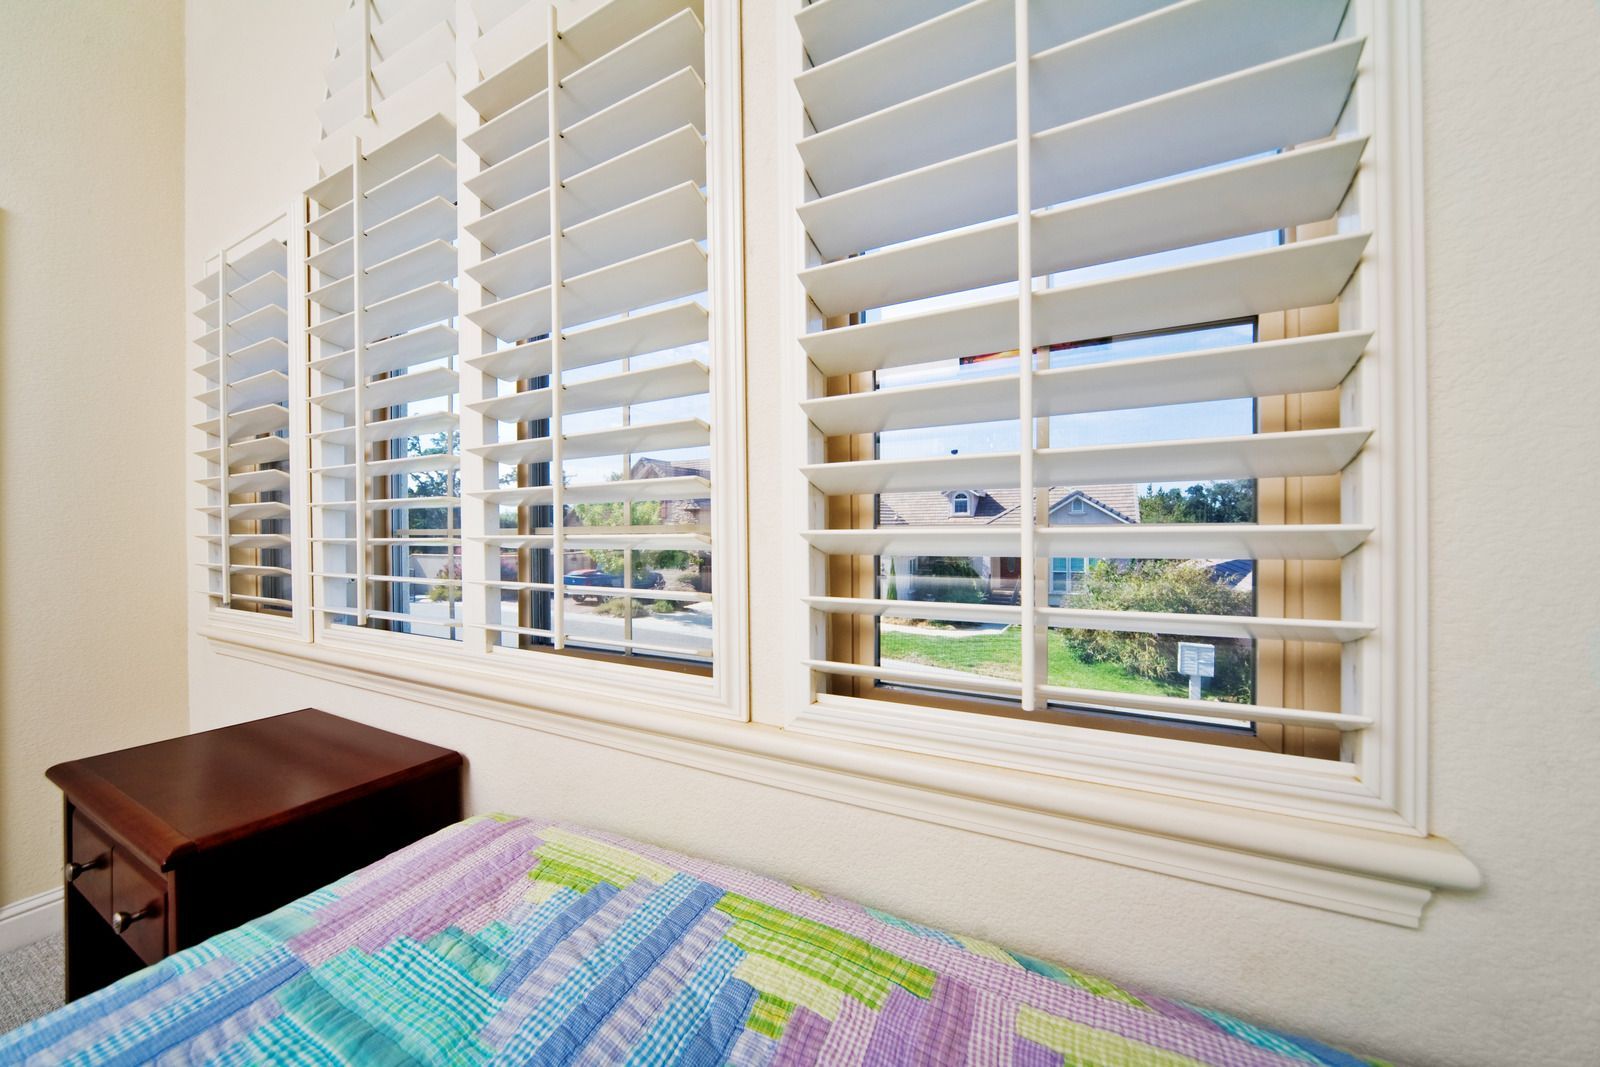
Common Mistakes to Avoid When Installing Interior Window Shutters
Installing interior window shutters can dramatically enhance the aesthetic and functionality of your home. They provide privacy, light control, and a polished look that complements any décor. However, a seemingly simple installation can quickly turn problematic if common mistakes are made. Even minor errors can result in misaligned panels, difficulty operating shutters, or long-term damage to your windows. Understanding these pitfalls before starting your project can save time, effort, and money. In this guide, we’ll explore the most frequent mistakes homeowners make during shutter installation and how to avoid them for a flawless finish.
1. Ignoring Precise Measurements
One of the most critical mistakes is inaccurate measurements. Even a small error can prevent shutters from fitting properly, leading to gaps or panels that won’t close correctly. Always measure the height, width, and depth of your window frame at multiple points and record the smallest dimensions. Double-checking these numbers ensures that your shutters will fit snugly without forcing them into place.
2. Choosing the Wrong Mounting Style
Shutters can be mounted inside or outside the window frame, but selecting the wrong style for your space can affect both aesthetics and functionality. Inside mounts offer a clean look but require precise measurements and sufficient window depth. Outside mounts are more forgiving but may cover part of your wall or trim. Consider your window’s design and your desired look before deciding on the mounting style.
3. Overlooking Leveling and Alignment
Even perfectly measured shutters can appear crooked if not leveled correctly during installation. A tilted shutter can cause operational problems and detract from your room’s overall appearance. Use a spirit level to ensure your panels are perfectly vertical and horizontal. Taking time to align each panel correctly prevents future issues and keeps your windows looking symmetrical and elegant.
4. Improper Hardware Use
Using the wrong screws, brackets, or hinges can compromise shutter stability. It’s essential to follow manufacturer instructions and use hardware suitable for your window type. Anchoring shutters securely to studs or using wall anchors for drywall ensures they remain stable and functional over time.
5. Neglecting Clearance and Operation
Shutters need adequate space to open and close smoothly. Forgetting to account for window handles, blinds, or trim can result in panels that bump or stick. Test the operation of your shutters during installation to make adjustments before securing them permanently. Proper clearance guarantees effortless functionality and long-lasting performance.
6. Skipping the Finishing Touches
Even minor finishing details, such as paint touch-ups or sealing gaps, can impact the overall appearance. Neglecting these steps can leave your shutters looking incomplete or unprofessional. Take time to inspect each shutter panel after installation and address any imperfections.
Trust the Experts for Flawless Results
Avoiding these common mistakes can make shutter installation smoother, but achieving a perfect result often requires experience and precision. At Purrfect Shutters
in Rancho Cucamonga, California, we have 3
years of expertise helping homeowners enhance their spaces with high-quality
interior window shutters. From accurate measurements to flawless installation, our team ensures every shutter fits perfectly and operates effortlessly. Whether you’re updating a single room or your entire home, trusting skilled professionals guarantees beautiful, functional results that last for years to come.


